How to Transcribe Video to Text
Direct answer
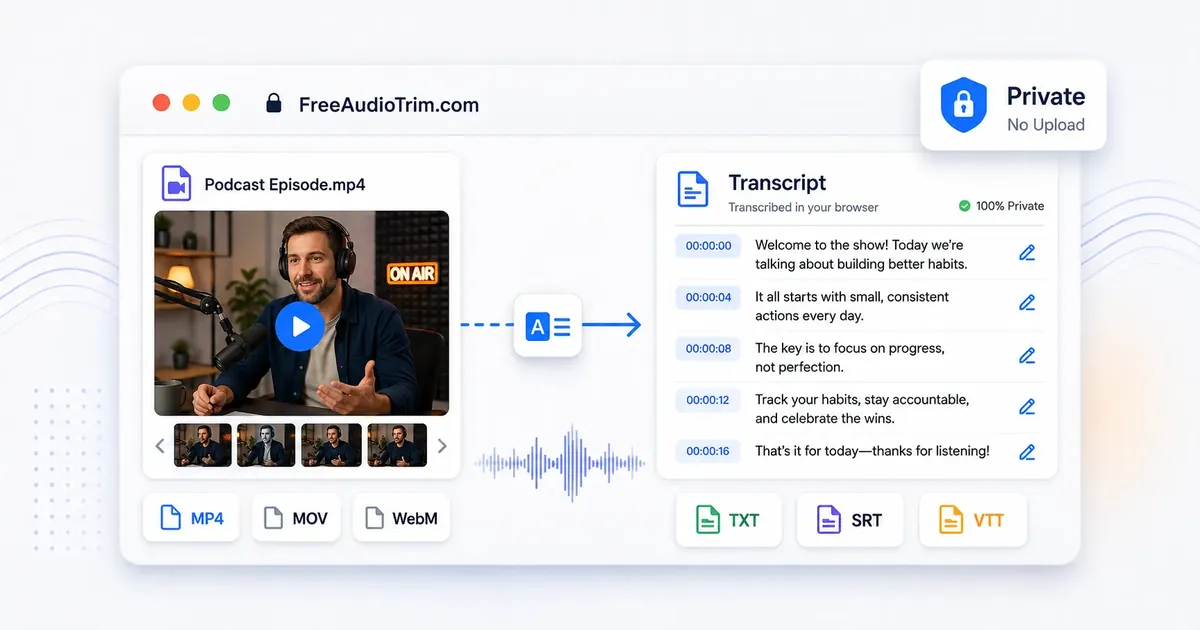
To transcribe video to text, open the FreeAudioTrim audio and video transcription tool, select a supported MP4, MOV, WebM, M4V, MPEG, or MPG file, then choose the spoken language and an available model. The browser extracts and processes the audio locally. Review the result against the video before downloading TXT, SRT, or VTT.
If the video is large, slow to load, or saved with a codec your browser cannot read, extract the audio first with Extract Audio from Video, then transcribe the cleaner audio file instead of forcing the full video through the workflow.
When to use this workflow
Video-to-text transcription is useful when the spoken content matters more than the picture. It is a good fit for interviews, lectures, client review videos, meeting recordings, webinars, YouTube drafts, podcasts recorded on camera, and social clips that need captions.
Use this workflow when you need one of these outputs:
- A plain transcript for notes, articles, research, or quote pulling.
- An SRT subtitle file for YouTube, Premiere Pro, DaVinci Resolve, or client delivery.
- A VTT caption file for web players and accessibility workflows.
- A cleaned transcript that can be translated into another language before subtitle timing is finalized.
How the transcript fits into an edit
In a real edit, the transcript is rarely the final deliverable. It becomes a review document, a quote source, a subtitle file, or the clean source text for translation. That is why the review step matters as much as the automatic transcription step.
Privacy note: client review cuts, internal videos, and unreleased YouTube drafts can contain sensitive context. For supported files, a local browser workflow avoids sending the whole video through a normal upload queue.
Practical tip: export SRT for YouTube, Premiere Pro, and DaVinci Resolve, export VTT for web players, and keep TXT as a backup for translation preparation or client text review.
What happens to the video in your browser
The tool does not analyze the picture. It reads the video's audio track, mixes it to mono, resamples it to 16 kHz, and sends that prepared audio to a local Whisper model. The video remains available for playback so you can check the transcript against the source.
For files longer than 30 seconds on desktop, the tool uses overlapping 29-second windows. Five seconds of overlap gives the model context around each split. The results are placed back on the full timeline, then repeated text near the joins is removed.
Direct video transcription is a desktop feature. Phone mode blocks video because decoding a full video and running a speech model can exhaust mobile browser memory. On a phone, use Extract Audio from Video first and upload the smaller audio file.
Upload methods and supported file types
You can click the upload area or drag and drop a file. The tool processes one file at a time. The file picker lists MP3, WAV, M4A, AAC, FLAC, OGG, OGA, MPGA, MP4, M4V, MOV, WebM, MPEG, and MPG.
The browser may also accept another file when it reports a valid audio/* or video/* media type. That is only the first check. A familiar extension can still contain a codec the browser cannot decode.
On iPhone or iPad, use Browse > Files when choosing a video. Importing directly from the Photo Library can stall in Safari. Mobile video transcription is blocked even when the picker accepts the file, so extract the audio first.
How phone mode is detected
The tool looks for a mobile browser identifier. It can also switch to phone mode when it sees a coarse pointer and a shortest screen side of 480 pixels or less. Phone mode uses a separate single-threaded worker and only offers Baby Raptor.
The mobile worker uses 30-second chunks with five seconds of overlap. Mobile Safari uses 29-second chunks with the same overlap. These settings keep memory use steadier than the desktop path.
File-size warnings arrive before the model starts. Mobile Safari warns about WAV files over 8 MB and general files over 48 MB. Other phone browsers use 12 MB for WAV and 64 MB for general media. These are reliability warnings, not universal upload limits.
How difficult sections are recovered
A long file is not abandoned because one window is troublesome. The desktop controller can retry the first part as a 5-second split with one second of overlap, then use 8-second pieces with two seconds of overlap. It can also fall back to 14-second windows or 3-second micro-windows when a first split is unusually slow.
A local Silero voice-activity model checks where speech is likely to begin and end. Full VAD-selected desktop transcription is still experimental and disabled by default, but the speech spans help the tool check timing and recover difficult regions. The phone worker can use speech-aware chunks when those spans are available.
The recovery code also looks for repeated intros, suspiciously long output, silence hallucinations, and duplicated text from overlapping windows. A live preview can briefly show words that disappear from the final transcript after these checks. That is expected.
How to transcribe video to text
- Choose the right source file. Start with the clearest version of the video you have. Speech with low background noise, steady volume, and minimal overlap will transcribe better.
- Decide whether to extract audio first. For short MP4 or WebM files that open quickly, direct transcription is usually fine. For long videos, huge exports, or files with browser playback issues, extract the audio from the video first.
- Trim obvious dead space if needed. Cut long intros, silence, or unrelated sections with the online audio cutter before transcription. Less irrelevant audio means less text to review.
- Clean rough speech when needed. If the voice sounds thin, noisy, or hard to follow after extraction, run the audio through AI Voice Studio before transcription. This is most useful for webcam audio, laptop mics, phone recordings, and draft voiceovers.
- Transcribe the file. Open Audio & Video Transcription Online, select the video or extracted audio file, choose the spoken language, and pick an available model. Triceratops is the balanced desktop default. T-Rex is available only when stronger hardware passes the WebGPU check.
- Edit while listening back. Play the source in the built-in player and watch the active transcript segment highlight. Click a segment to replay it, then use Edit transcript to fix names, technical terms, brand names, numbers, and places.
- Export the right format. Download TXT for a plain transcript, SRT for subtitles in most editing and publishing workflows, or VTT for web captions.
- Do a final caption pass. Before publishing, check timing, line breaks, punctuation, speaker changes, and any translated text against the actual video.
TXT vs SRT vs VTT
Choose the export format based on where the text will go next:
- Choose TXT for plain transcripts, notes, blog drafts, research, or searching within a recording. TXT does not include subtitle timing.
- Choose SRT for YouTube, Premiere Pro, DaVinci Resolve, and most client subtitle handoffs. It includes cue numbers, timecodes, and subtitle text.
- Choose VTT for HTML5 video players and other web caption workflows.
If you are not sure what to export, choose TXT for reading and editing, SRT for video platforms or editing software, and VTT for website video captions.
YouTube, Premiere Pro, and DaVinci Resolve workflows
For YouTube subtitles, export SRT, upload it in the video's subtitle area, then preview the full video before publishing. Check that the first caption does not start too early, that music-only sections are not filled with incorrect speech, and that names or product terms are spelled correctly.
For Premiere Pro, import the SRT into the project, place it on the caption track, then review timing against the sequence. If your edit has changed since transcription, move or retime captions before export.
For DaVinci Resolve, import the SRT as a subtitle track, check the timeline timing, and adjust caption length or line breaks where needed. Subtitle files are timing files, not finished typography, so the final look still depends on your editor, platform, and export settings.
Prepare subtitles for translation
If you plan to translate subtitles, clean the source transcript first. Fix names, repeated words, broken sentences, and unclear wording. The tool supports translation between 20 listed languages and uses your edited segments as the source.
The translation opens in a temporary browser page and uses Google Translate, so this optional step is not local in the same way as transcription. You can download the translated result as TXT, SRT, or VTT. Review it against the video because translated sentences can be longer or shorter than the original speech.
Privacy and the no-upload workflow
Many video transcription tools require you to upload the whole video before anything happens. That can be uncomfortable for client footage, interviews, internal meetings, student recordings, legal notes, or unreleased content.
FreeAudioTrim is designed around browser-based workflows where supported files can be processed locally. That means the file is handled on your device instead of being sent to an upload queue. This is especially useful when you only need a quick transcript or subtitle file and do not want another account, subscription, or server copy of the recording.
There are still practical limits: your browser must be able to read the file, your device needs enough memory, and long recordings can take longer to process. The model and runtime are downloaded from external repositories, but the selected media is not sent to a FreeAudioTrim transcription server.
If you use the optional translation view, transcript text is processed by Google Translate. The ChatGPT refinement button opens a custom GPT in another tab and does not send the transcript automatically.
Codec, browser, and file limits
A file extension such as MP4 or MOV does not tell the whole story. The video container can hold different audio and video codecs, and browsers do not support every possible combination. That is why one MP4 may open normally while another MP4 from a camera, recorder, or editing app may fail or play without audio.
Limitations to know: long timelines, unsupported codecs, mobile browser limits, Arabic RTL display, and mixed-language captions can all require a second pass inside your editor or publishing platform.
If a video does not load, try these fixes:
- Open the file in a modern desktop browser and try again.
- Extract audio from video first, then transcribe the audio file.
- Convert the audio to a common format such as MP3 or WAV with the audio file converter.
- Trim a long file into smaller sections before transcription.
- Close heavy apps or tabs if browser memory is the problem.
Desktop limits also depend on model size: up to 20 minutes for Baby Raptor, 15 minutes for Triceratops, and 10 minutes for T-Rex. These are browser stability limits, not limits imposed by the video container.
Extract audio first or transcribe directly?
Direct video transcription is fastest when the video is short, the file opens cleanly, and you want a transcript or subtitles without preparing extra files. It keeps the workflow simple: select video, transcribe, edit, export.
Extract audio first when the video file is huge, the codec is not supported, the browser struggles to decode it, or you only need the spoken track. Audio-only files are usually smaller and easier to trim, normalize, or clean before transcription.
A practical FreeAudioTrim workflow is: Extract Audio from Video, then use Audio Cutter Online to remove unwanted sections, optionally use Normalize Audio Volume or AI Voice Studio for clearer speech, and finish by turning the prepared video or audio track into editable text, SRT, or VTT.
Common mistakes to avoid
- Assuming every MP4 is browser-compatible. The container may hold an unsupported audio codec even when another MP4 works normally.
- Retrying a video with no readable audio track. Extract or convert the audio instead of repeating the same failed decode.
- Using a full-resolution video when only speech matters. An audio-only file is smaller and often easier for the browser to process.
- Changing the edit after transcription. Cuts made later can invalidate transcript timestamps and subtitle timing.
- Troubleshooting on a memory-limited phone. Try a desktop browser, close heavy tabs, or split a long recording into sections.
Related FreeAudioTrim tools and guides
- Audio & Video Transcription Online for turning video or audio into TXT, SRT, or VTT.
- Extract Audio from Video when the video is large, private, or hard for the browser to decode.
- Audio Cutter Online for removing intros, dead space, and unrelated sections before transcription.
- Normalize Audio Volume when speech levels are uneven.
- Extract Audio from Video Guide for a deeper audio-first workflow.
- How to Generate Subtitles for a caption-focused guide.
- How to Transcribe Audio to Text if you already have MP3, WAV, M4A, or another audio file.
- تحويل الصوت والفيديو إلى نص for an Arabic-first transcription interface.
FAQ
Can I transcribe MP4 to text?
Yes. MP4 is one of the most common formats for video-to-text transcription. If your browser can read the file and its audio track, you can turn the speech into a transcript or subtitle file.
Can I transcribe MOV or WebM files?
Often, yes, but support depends on the codecs inside the file and the browser you are using. If the video does not load or has no readable audio track, extract or convert the audio first.
Can I transcribe video without uploading it?
For supported files, a browser-based FreeAudioTrim workflow can process the media locally on your device. That is useful for client videos, interviews, and private recordings where uploading the full file is not ideal.
What affects video transcription accuracy?
Audio clarity matters most. Background noise, music, echo, low volume, accents, mixed languages, and multiple speakers talking at once can all reduce accuracy. Always review the transcript before publishing or sending it to a client.
Can I create YouTube captions from a video?
Yes. Transcribe the video, export an SRT file, upload it to YouTube's subtitle area, then preview the captions on the video before publishing.
Can I use the same subtitle file in Premiere Pro and DaVinci Resolve?
SRT is the safest starting point for most editing workflows. Import it into your editor, place it on the caption or subtitle track, then check timing against the final sequence.
Should I translate subtitles before or after editing the transcript?
Edit the source transcript first. Correct names, sentence breaks, and unclear words before translation. Add speaker labels yourself if the project needs them. After translation, review caption timing again because translated text can change length.
What should I check before publishing captions?
Watch the full video with captions turned on. Check timing, spelling, punctuation, reading speed, line breaks, music-only sections, and whether the caption file matches the final edited video. Add speaker labels yourself if the project needs them because the tool does not perform speaker identification.